Creating eForms
Users can create eForms by performing the following steps:
Log on to the Agilysys eForms.
Click E-Forms from the left navigation menu. The E-Forms page appears.
Click Create. The Create E-Form page appears.
Select and open the preferred document using the Browse option. The supported formats are PDF, PNG, JPEG, and TIFF. The maximum size supported is 10 MB.
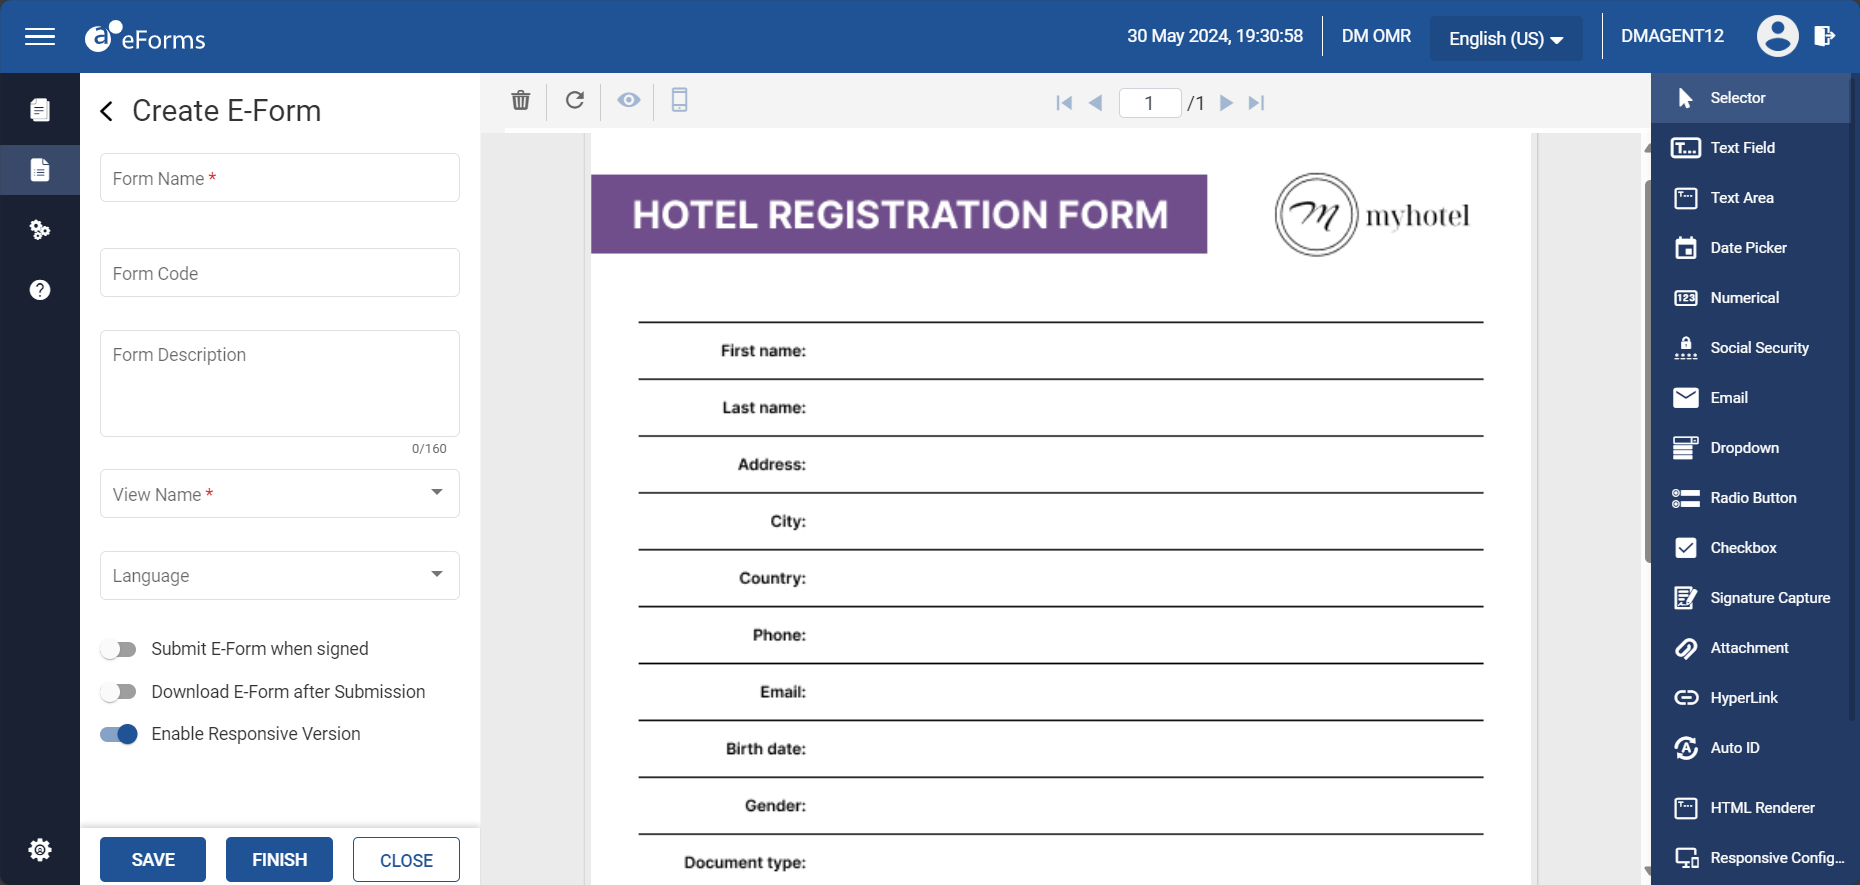
Enter the following details in the Create E-Form fields:
|
Field |
Description |
|---|---|
|
Form name |
A name for the eForm. |
|
Form Code |
A unique 5-character alphanumeric code that helps iSeries applications to identify eForms. This field is applicable only when eForms are integrated with LMS. |
|
Form description |
A description for the eForm. The description must not exceed 160 characters. |
|
View Name |
Select the preferred view from the drop-down list. |
|
Language |
Select the preferred language from the drop-down list:
|
|
Submit eForm when signed |
When enabled, the eForm is submitted automatically upon clicking Finish. |
|
Download eForm after Submission |
When enabled, provides end users with the option to download the eForm as PDF after submission. |
|
Enable Responsive Version |
When enabled, the eForm gets accustomed to display in a responsive view without the background image and fields within the eForm get displayed as plain HTML text. When disabled, the eForm does not support mobile, tablet, or any responsive view. |
Modify the eForm using the design field options available on the right pane.
Click Save to save the eForm as draft.
OR
Click Finish to finalize the eForm and store a version of the same in Version History.
OR
Click Close to close the eForm.